Installing the 100% completed save game for GTA IV: The Lost and Damned lets you unlock all the game’s missions, vehicles, and special rewards without replaying any missions.
This guide ensures you can start exploring the fully completed game right away. If you’re using a PC, PlayStation, or Xbox, you can transfer the save file easily by following the steps below.
Get access to all missions, side quests, and rewards in GTA IV: The Lost and Damned by installing the 100% completed save game.
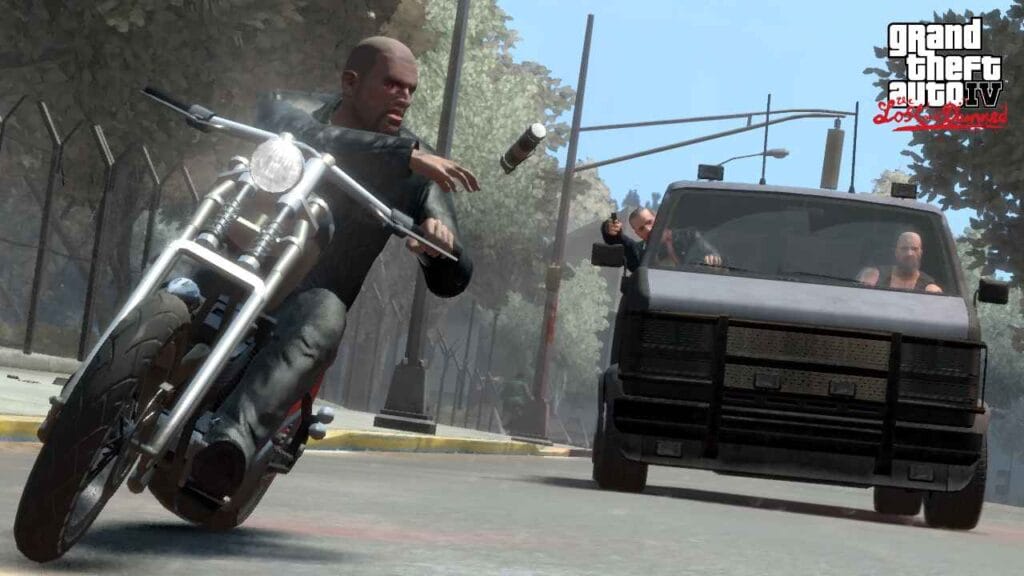
How to Install GTA IV: The Lost and Damned Save Game
Here are steps to easily install the save file on PC, PlayStation, or Xbox, so you can enjoy the full experience of this DLC:
For PC:
- Download the 100% completed save game file from the download page.
- Locate and unzip the downloaded save file, if needed.
- Go to the save game directory:
C:\Users\[Your Username]\Documents\Rockstar Games\GTA IV\Profiles\[Profile ID]. - Copy and paste the downloaded save file into the folder.
- Launch GTA IV: The Lost and Damned and load the new save from the game menu.
For PlayStation:
- Download the save file and copy it to a USB drive formatted to FAT32.
- Insert the USB drive into your PlayStation console.
- Go to “Settings” > “Application Saved Data Management” > “Saved Data on USB Storage Device.”
- Select “Copy to System Storage” and choose the GTA IV: The Lost and Damned save file.
- Launch the game, and the save file should appear in the load game menu.
For Xbox (Modded Consoles):
- Download the save file and transfer it to a USB drive.
- Use a tool like Horizon or Modio to format the save file for Xbox and transfer it to the USB.
- Insert the USB drive into your Xbox console.
- Go to “Settings” > “Storage” and move the save file from the USB to your Xbox hard drive.
- Launch GTA IV: The Lost and Damned and load the new save from the game menu.
I hope this helps you install the GTA IV: The Lost and Damned Edition save game file. If you don’t have the save file yet, you can download it using the button below.
Notice: Remember to back up your current save files before starting the process.


